Installation Steps:

Take out your bridge and power cable from the box.

Find a place to install it. You will need an AC-to-5V DC USB power adapter with a minimum rating of 5W.
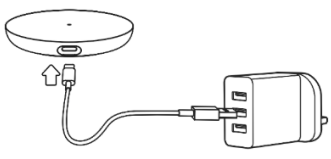 Note: Power adapter not included
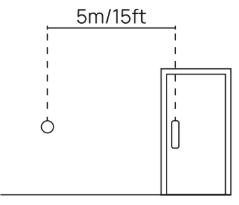
 For a reliable Bluetooth®connection try to place the bridge within 5m (15ft) of the lock.
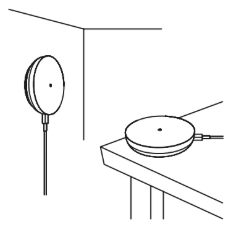
|  Place the bridge either on the wall or a tabletop, clear of obstructions. Place the bridge either on the wall or a tabletop, clear of obstructions.
|
Wall Mounting:

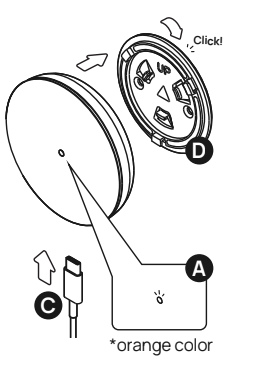
If wall mounting, please detach the base plate (D) from the bridge and place it on the wall.
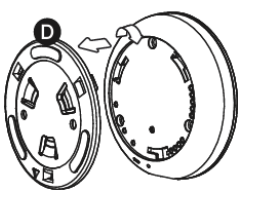

There are two methods of mounting: with adhesive tape or with screws.
A. Adhesive Tape
 Peel off the mounting tape from the back of the base plate as shown.
|  Ensure that the wall is clean and dry before pressing the base plate onto the wall.
Note: Press it for 30 seconds to ensure a strong bond. |
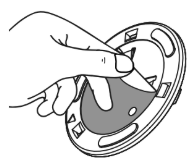
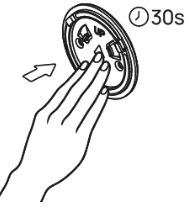
B. Mounting Screw
 Position the base plate at the location you desire to install and mark the two hole locations as shown with a pencil. |  Check and drill the pilot hole size for the mounting surface as specified on the drill sheet. |
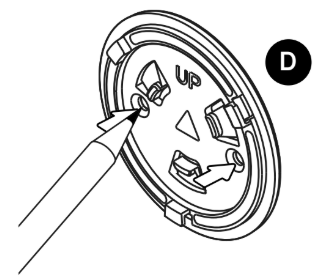 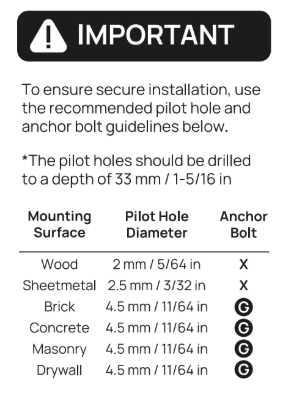 | |
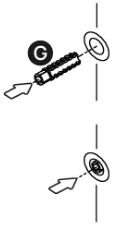
 If anchors are required, insert the 2x screw anchors for Brick, Concrete, Masonry or Drywall. Note: The anchors should fit tightly into the pilot holes to ensure a secure hold. For wood, there is no need to insert wall anchors. |
 Mount the bridge onto the base plate by aligning the USB downwards, inserting it onto the tabs on the base
plate and twisting clockwise by approximately 10 degrees until you hear a click.

Plug in the USB power into the bridge, and the status LED should start to breathe orange, indicating that it is ready to pair.